Your site includes a sophisticated form builder called Gravity Forms. If you’re not familiar with it, you can visit the documentation site to learn how to use it. There is also a section on Gravity Forms in the video help.
Your site comes with one preconfigured form, a general contact form. You should edit the form’s notification settings to make sure the appropriate person receives notification emails. Also, edit the form’s confirmation settings to ensure that the wording is appropriate for your site.
Under each form’s name, you’ll see a link for Entries. This is where you can view the form submissions in a list. If you prefer, you can leave off the email notifications entirely and simply revisit this page to see your messages.
You can export entries in the forms import/export section. Here, you can also export a form’s questions, if you need to copy a form from one site to another.
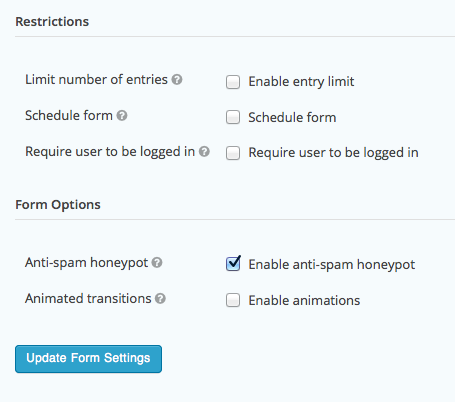
Restrictions
Under a form’s settings, you’ll notice two useful restrictions: entry limits and scheduling. The entry limits would be helpful if you wanted to set up a very simple event RSVP without selling tickets; you could simply limit form entries to the number of seats available.
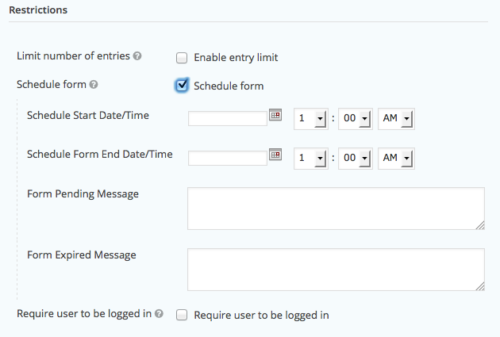
The form scheduling feature is something you might use to create a limited-time survey. Create a new form, then go to settings. Scroll down to the bottom of this section and check “Schedule form.”
Then set the start and end dates for your form. The Form Pending message is the one that will be shown if someone tries to view your form before it becomes available; the Form Expired message is the one that will be shown after your end date.


